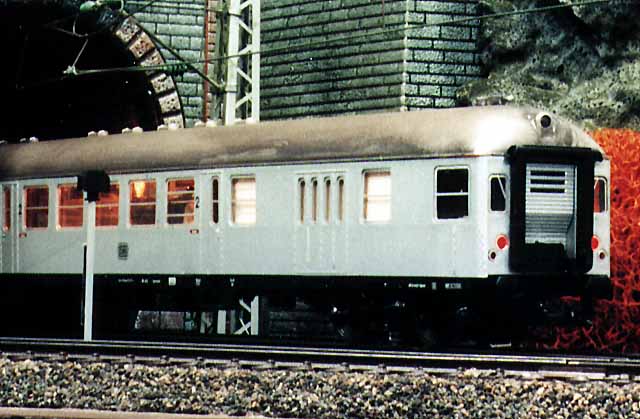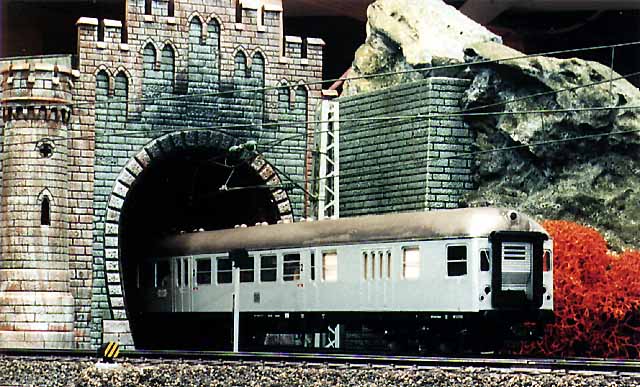
Shuttle trains are my favorite. Such trains are the best choice for end stations and it looks great if a locomotive is pushing some silver cars. Maerklin has only one version of control cars for era 4. This car with the blue / sand colored front may be modern, but I like the older one more. Roco had these 1:100 cars in its last catalog.
The car (44379) comes without interior lights. The number is 101 043. It contains everything to provide for changing front lights on DC tracks. However, it needs to be altered somewhat, to have this function on a digital layout. The interior light has three bulbs, with two of them sitting in the front for the headlights. To switch the lights on or off, I use again the decoder k73 and a relay. To change from the two red rear lights to the white triple headlights, an additional k73 / relay combination is required.
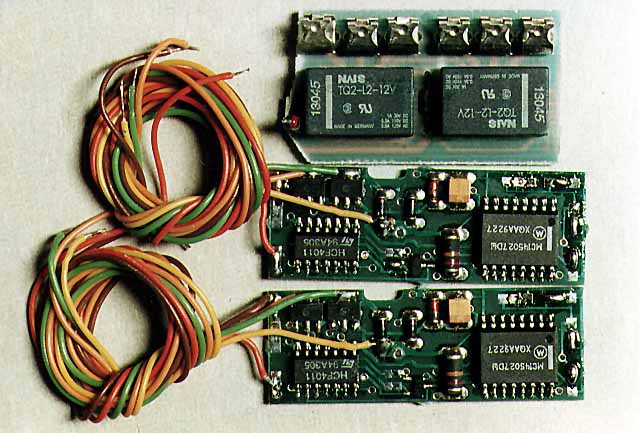
Two relays are needed, because this decoder is normally used for switching turnouts. To have as few wires as possible, I took the Maerklin relay 7244. I cut 3 connectors on the left and right side, to fit it into the baggage room. Normally the two relays cannot be switched separately, but if you cut the layer at two points, they can be made to do that. The following picture shows where the cuts must be done (red lines). For instructions regarding the change, please consult page 2: relay 7244. To protect the relay, a 22-Ohm resistor must soldered to the board and a second one, with the same Ohms must be attached as shown.
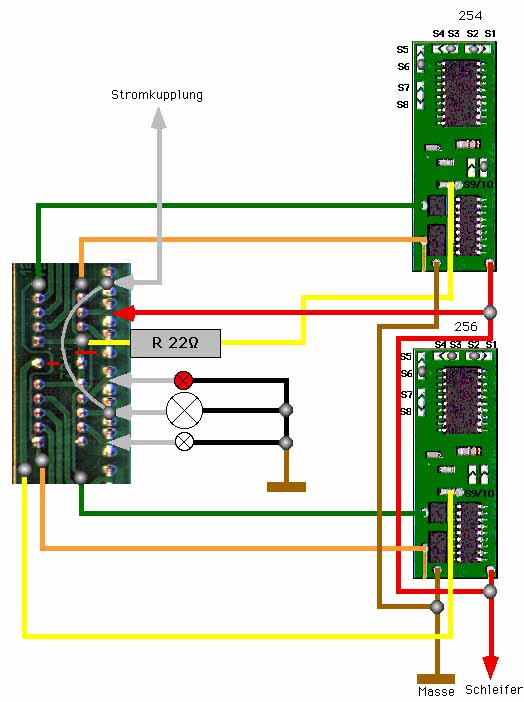
As presented in the wiring diagram, the top k73 switch controls the light for the whole train. The lower k73 changes the front / rear lights. I control my model train through the computer, and it was easy for me to write a program, so that the control car and the locomotive are always synchronized in the light changes. It is important to solder the small gray wire onto the relay layer. Without this all relays will work, but the bulbs remain dark.
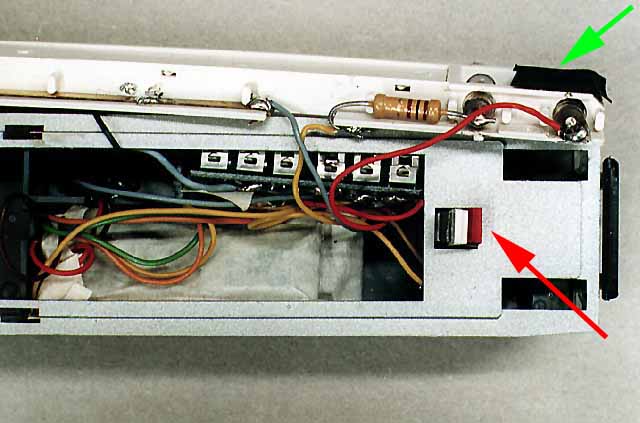
To fit all components into the control car, some of the interior must be removed. I protect the decoders with adhesive tape against short circuits. For aesthetic reasons, I paste some sand colored paper behind the windows. You see a brown 100-Ohm resistor on the photo. This is important, because the white front lights look too bright otherwise. After a few minutes they become hot and this can melt the plastic roof. I also moved this resistor to a safe place into the car, since it too gets hot and can deform nearby plastic. The rear lights are not colored, so I took a piece of red paper (red arrow). To protect the upper white front light against the rays of the "red bulb" I pasted a piece of black paper under the roof and removed the silver paper (green arrow).
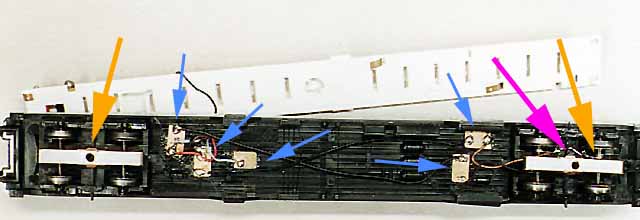
I think it is terrible if the interior lights are flickering on the turnouts. So I glued TWO pick up shoes to the suspension (orange arrow). Ground connections are only on one side (purple arrow) and the contact is good. To have as few wires as possible inside the car, I mounted them under the car and glued some brass solder pads to connect the wires together (blue arrows). For better looks, you can paint it all black later.
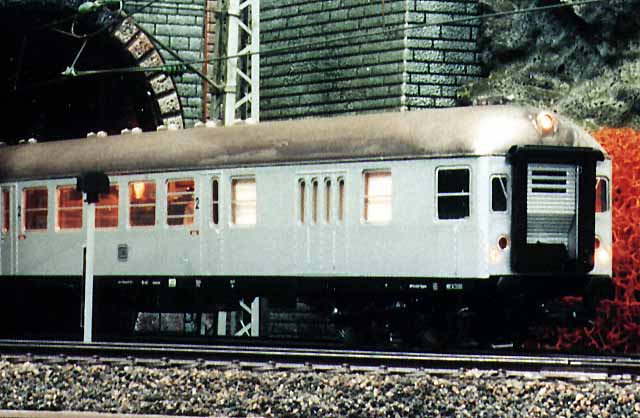
The last two photos show the completed control car. The front lights are bright enough to see them during daylight. The interior light shines smoothly and there are no dark corners. The bulbs are made for 12 volts DC, but I have no problems with the 17 volts of my self-made booster (Edits). For darker and less hot bulbs, a 100-Ohm resistor attached to each bulb helps. The whole train drives through turnout without flickering lights. To connect the other cars, I use the electric coupler 381438 from Fleischmann. The new Roco 40345 will do the same.