Modified Interior Lights
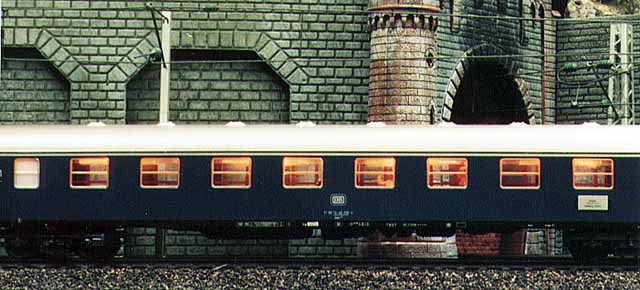
To provide some light to the small passengers in the cars, it is easiest to consult the Maerklin catalog for the correct interior lighting. For my first passenger train with blue and green cars, I used the light 7330.
After installing the lights, I was frustrated. The light in the cars has bright spots at the ends and dark stretches in the middle. The problem is the plastic part, which should even out the light rays, but has the wrong form to work properly. Newer lights like the 7317 or 7333 are better as are the lights from Roco.
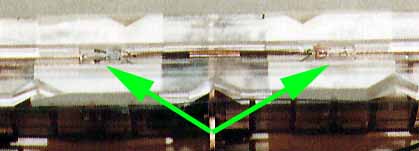
The bulbs have the number 60 00 80 for analogue layouts, but in the digital system they are too bright. I changed them against 61 00 80 and thus they live longer as well. Then I took two bulbs, bent the little wires about 90 degrees and added them to the plastic part (green arrows). The best position is in the center of the car above the wall that separates two compartments.
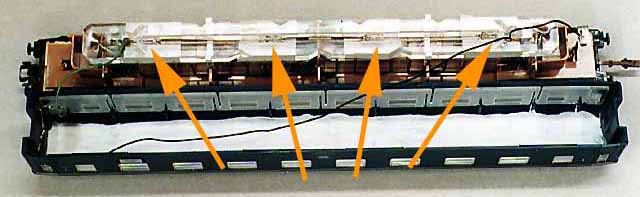
Now the light was better, but still not totally even. I pasted some white adhesive tape under the plastic part at the position of the bulbs. Then I fixed the bulbs with transparent adhesive tape to the top (orange arrows). I painted the underside of the roof in white to have more reflections. With all these modifications the lights are now perfect.
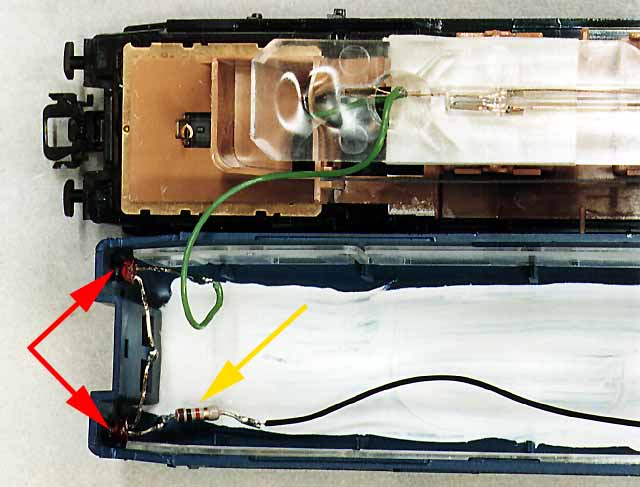
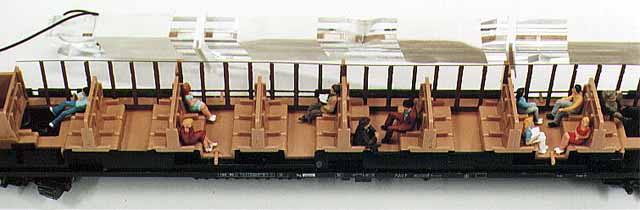
The train contains 5 cars, connected with the conductive couplers from Maerklin. The restaurant car contains the k73 and a relay for switching the interior lights with the k73. The two last cars should have some red rear lights, so I drilled two holes for red LED's (red arrows). With sandpaper I removed the round part of the front of the LED, and now it looks like a small red bulb in the hole. The LED's are connected serially with a 1-kilo ohm resistor (yellow arrow).